Resistors
This category consists if ¼ Watt, ½ Watt, and 1 Watt metal film resistors.
 1 Watt Metal Film Resistors with 1% Tolerance
Starting at $0.10
1 Watt Metal Film Resistors 1% Tolerance. Can be used for nearly an unlimited amount of things. Learn More 1/2 Watt Metal Film Resistors with 1% Tolerance
Starting at $0.10
1/2 Watt Metal Film Resistors 1% Tolerance. Can be used for nearly an unlimited amount of things. Learn More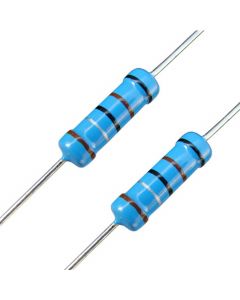 1/4 Watt Metal Film Resistors with 1% Tolerance
Starting at $0.10
1/4 Watt Metal Film Resistors 1% Tolerance. Can be used for nearly an unlimited amount of things. Learn More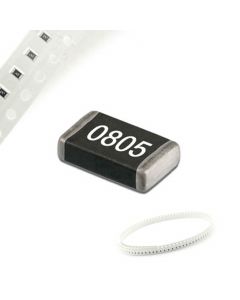 1/8 Watt 0805 with 5% Tolerance
Starting at $0.10
1/8 Watt 0805 Resistors 5% Tolerance. Can be used for nearly an unlimited amount of things. Learn More